Restore a Virtual Server from Backup
If you've run into an issue with your Cloud server and you have a recent backup, you can always restore your server using that backup, right from within our Cloud portal.
Access your Virtual Server's Main Page
This is how you access your Cloud server's main page in HostDime's Cloud.
-
Log into your CORE account and click Cloud under the Products menu.

-
Click the Login to Cloud Portal button.

-
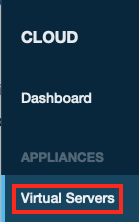
Now you will be on our Cloud dashboard page. Click on the Virtual Servers item in the sidebar to switch to a view of your virtual servers.
-
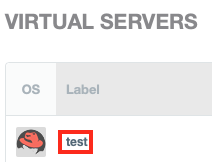
You will see a list of all of the virtual servers you've created. Click on the Label for the server you want to work with.
-
This will take you to a page where you can see up-to-the-minute statistics and work with your virtual server.
Restore your Virtual Server from an Existing Backup
Follow these steps to restore your virtual server:
-
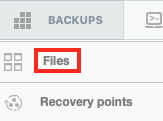
Click Backups and then on Files.
-
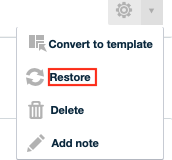
Click Restore next to the backup you want to use.
-
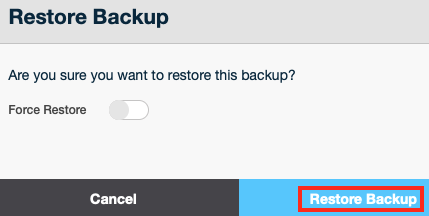
Click Restore Backup to start a standard backup restoration. If issues are encountered, the restore may be aborted before it even starts. Enable Force Restore if you want to try to make the system restore the backup even if issues are discovered.
-
Once the backup is restored, you can start the Cloud server if needed, and make sure it work properly.